Green Tahini (Sesame Seed) Salad Dressing

greentahini

On Shabbat nights and mornings, we usually have a first course of bread and spreads/dips, and tahini salad dressing/spread/dip is always starring there. The basic recipe is just pure tahini mixed with water until desired consistency is reached, with a sprinkle of salt and a dash of lemon juice. It can be spiked up with crushed garlic and, if desired, a drop of honey.

Another favorite of ours is green tahini – whizzed up in the food processor with cilantro, parsley, dill, or a combination of any or all of the above. It has a beautiful color, an interesting flavor and tons of health benefits. See recipe in my latest Mother Earth News post:

“It’s possible to play with the sort and amount of greens and the amount of liquids, so you can get a thicker, spread-like consistency, or a thinner variation which is used as a salad dressing.

Contrary to what many health adherents advise, I recommend using tahini from hulled sesame seeds, for its sweeter taste and smoother texture. It’s true that the sesame seed hull contains large amounts of calcium, but it is bound in a way that makes it not readily absorbable.”

Advertisement

My first sourdough loaf

20161226_095511

I have wanted to try making sourdough bread for a long time, and last week I’ve finally taken the plunge. I used simple instructions for sourdough starter that called for nothing but flour and water, and was a little skeptical at first, leaping with joy when I saw the first foamy bubbles – hurray! It’s working! I’ve captured myself some real wild yeast.

By day five, my starter acquired a prominent yeasty smell and I decided it’s time to dive into baking. I used whole rye flour, opting for sticky dough that is stirred rather than kneaded. After proofing the bread for about 8 hours in a warm kitchen, I eased it into English cake tins and let it stand a couple hours more before popping it into the oven.

Unfortunately, I left rather too much room for rising, forgetting that rye bread, especially sourdough bread, does not rise that much. As a result I got flat and, let’s face it, sorry-looking loaves, but the taste was very satisfying – full, complex, a little sour, with a very pleasant chewy texture. It was delicious warm, covered with melting butter, and was definitely worth the effort and waiting.

I saved a bit of the dough for next time’s starter and froze it, because bread-making happens somewhat sporadically around here. I hope next time I get a loaf that is good-looking as well as great-tasting.

A friend of mine, who makes delicious sourdough bread in the way of a little kitchen business, tells me that her secret to great-tasting bread is in the flour: she buys whole rye and spelt in bulk, soaks and sprouts the grains, then oven-dries the grains and only then grounds them into flour which she uses for bread-making. For practical reasons (my oven is tiny) I can’t do the same, but I still think I did pretty well for a first-timer. I’m excited about this venture into the world of traditional slow-rising breads.

Fenugreek: A WonderHerb

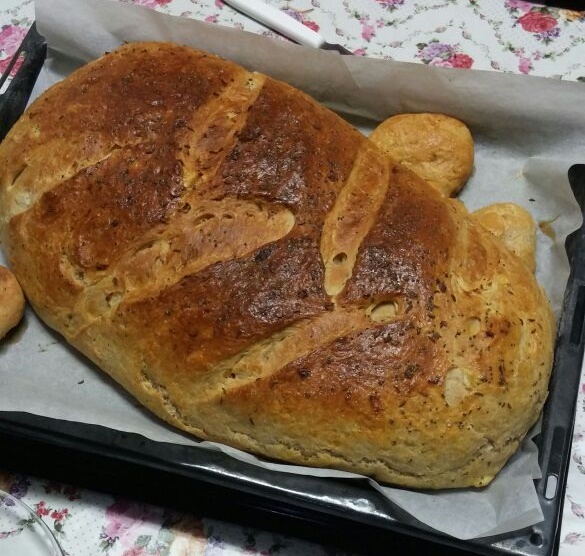
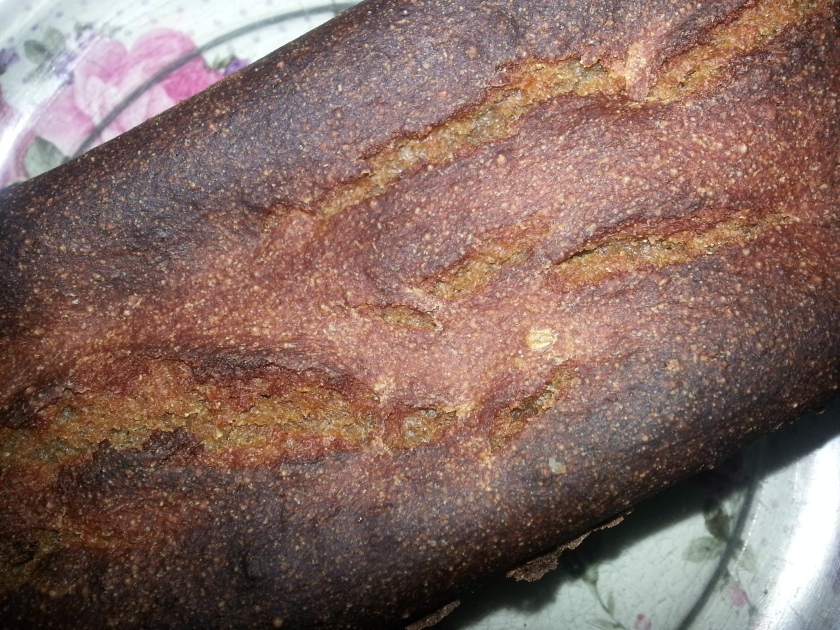
Hilbe, a spread/dip made of Fenugreek seeds or leaves, is a staple of Yemenite Jewish cuisine, and is usually eaten at one or more of the Shabbat meals. It goes amazingly with pita bread. The recipes vary, and can include garlic, lemon juice, and various herbs and spices.

Fenugreek itself has some wonderful nutritional benefits, being rich in calcium and magnesium – and also some very special health properties. It has a beneficial effect on blood sugar regulation and is known as a milk-supply booster for nursing mothers. I had taken Fenugreek capsules in the past, when I reckoned I needed to build up my supply, and I reckon they helped a bit, but nothing very dramatic. However, after a Shabbat of enjoying homemade hilbe spread in very moderate amounts, I suddenly felt a very prominent increase in my milk supply, something I didn’t even think of or aim for (since my baby was almost one year old and I figured we have a pretty steady supply-demand thing going). I suppose this effect was due to pre-soaking the Fenugreek seeds for a couple of days, thus allowing the special plant components to activate.

I think that’s really worth noting, as capsules are so much more expensive – and, apparently, less effective – than the real thing. I’m not sure you can buy Fenugreek everywhere, though. In Israel, the seeds are available in health food stores, and the leaves can be found at certain markets in season.

Here is the recipe we used:

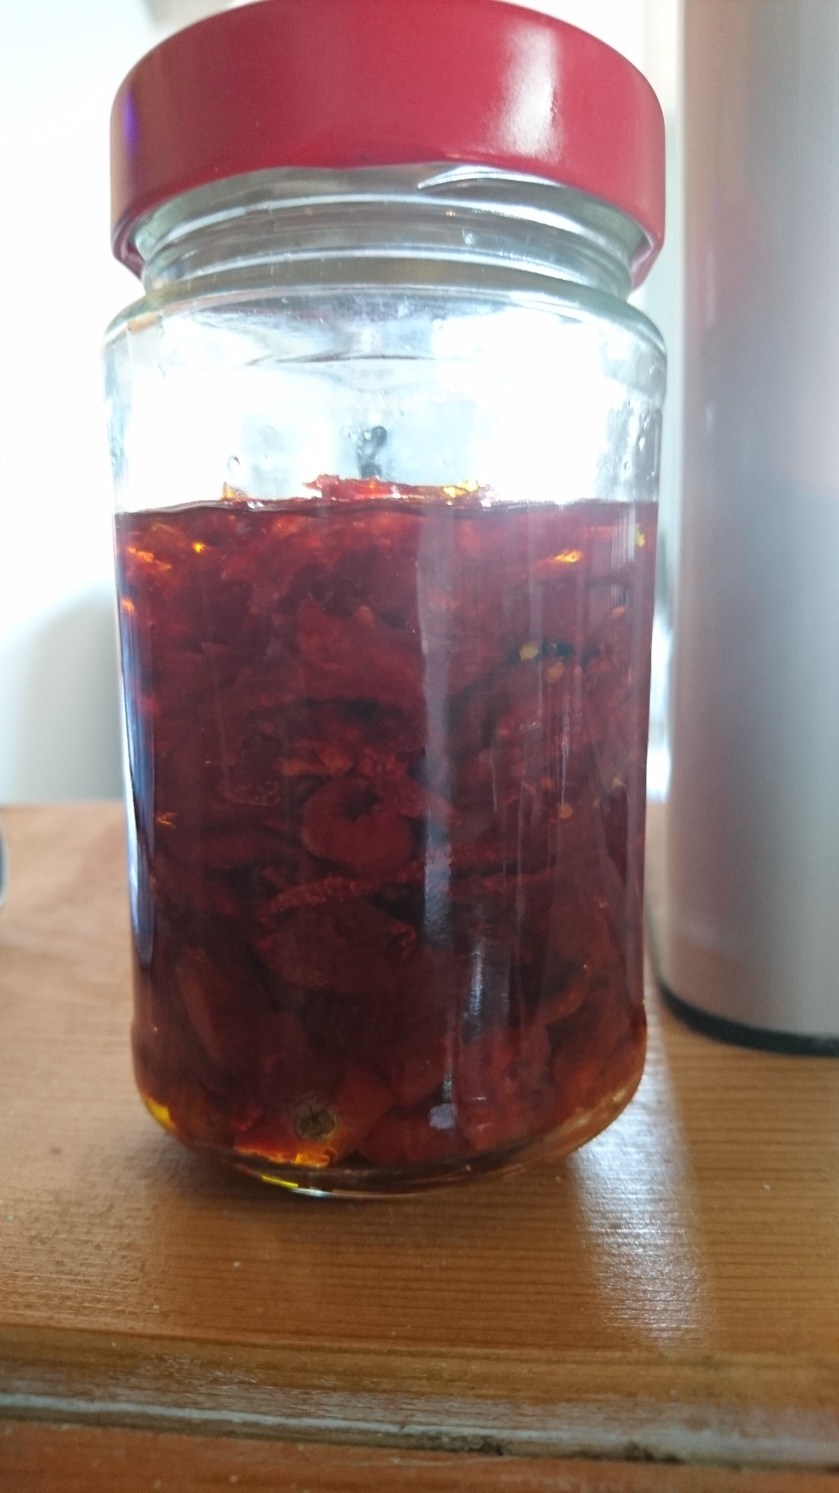
– about 1\3 cup dry Fenugreek seeds. Place in a bowl of water for 48 hours, changing the water every day. The seeds will swell considerably.
– a bunch of fresh coriander, about 3\4 cup shredded
– 2 big cloves of fresh garlic
– juice of one lemon

– salt and pepper to taste

Once the Fenugreek seeds are soaked and drained, place everything in your food processor. Blend thoroughly and add water as needed, to reach desired consistency (thicker/thinner, however you like it). Once finished, it should have a refreshing characteristic smell, and look bright green, sort of like this:
Image taken from here.

A word of warning: hilbe has a dominant smell; some like it, some don’t mind, some wish they could do without it. The smell can later come out in your sweat, or even in your baby’s diaper. The Fenugreek capsules don’t smell when you take them, but the smell comes out with a vengeance later through all your pores.

Recently I’ve decided to try growing some fenugreek from seed, to see if the fresh leaves are as good or better as the dried ones we use in various dishes. So far it’s proving very easy to grow – I just made a shallow trench in one of the garden beds, threw in some dry Fenugreek seeds from the store, and almost all of them sprouted. Once the leaves are big enough to use I’ll be sure to let you know how it has turned out.

Myrtle berry jam

Following my previous post on myrtle’s culinary uses, I have been experimenting with myrtle leaves and berries some more. I guess I’m just really tickled that there is a berry which grows well and prolifically in our area – and it’s free for picking!

I have tried to search online for myrtle berry jam recipes but couldn’t find anything definite, except that on one site I’ve read the berries are used in mixed fruit jam, generally along with apple. I cooked up a small experimental batch with about 1:1 ratio of myrtle berries and apples, sweetened to taste. After cooking, I ran it all through a food processor and got a beautifully colored, unique-tasting jam which I’m sure will be great as yogurt or granola topping, on toast, or even as roll or pie filling (if I make a larger batch).

The astringency of the berries is almost gone after cooking, and the only improvement suggestion I’d give myself for the future would be to strain the cooked berries and discard the seeds, which have a somewhat coarse texture and slightly bitter taste.

Left: myrtle berries; right: apple and myrtle berry jam. 

Myrtle: the kitchen discovery

myrtle

Myrtle is very common in Israel and in the rest of the Mediterranean as well, its hardiness and evergreen freshness making it a perfect choice for decorative hedges. It also has a significance in the Jewish faith, being one of the four species used in celebrating Sukkot (Feast of the Tabernacles).

It was only very recently, however, that we discovered that the myrtle berries – and leaves too – are actually edible. We are still experimenting with this, but in general the leaves may be added to soups and stews in a way similar to laurel leaves, imparting a subtle flavor and aroma (remove before eating), while the ripe berries can be likewise used in stews, sauces, meat, chicken, fish and even grain dishes. They have a fruity, slightly astringent flavor.

Myrtle berries are quite ripe when they are dark purple to black in color, which happens around here as late as November-December. Places where myrtle hedges are used for decorative purposes are good locations for picking; I can’t imagine anyone would object. Myrtle would be a good choice for planting on one’s property as well. It’s a hardy shrub which always looks fresh and smells delightful.

Besides flavoring various dishes, I have read that myrtle berries can be made into jam or steeped in alcohol to make a drink traditionally produced in Sardinia. We haven’t tried this yet but might experiment in the future. Myrtle also has some unique health properties, in particular for treatment of respiratory conditions and skin health. Here is a simple recipe for making myrtle oil at home. If I try this out, I will let you know.

Drying hyssop

hyssop

We don’t often find fresh hyssop in stores, so when we came across it we grabbed a bunch and I decided to take advantage of the dry, windy weather we’ve been having to dry it up.

Dry windy spells in winter are a pain. They make being outside unpleasant, they cause one’s hands to dry out and crack, and what’s more serious, they dramatically increase the risk of wildfires (by the way, thanks so much to those who have expressed concern for our family – we are thankful to say we are in no immediate danger of fire, but are keeping alert and hoping for rain). But these winds are perfect for drying herbs.

Drying hyssop – or any herbs, really – is very simple. All you have to do is take a good-sized bunch, tie it by the stems and hang it outside – or, if the wind is really violent like it was this time, put it in a mesh bag to prevent the leaves from scattering.

Of course, a food dehydrator or a simple oven can work just as well. Or you can hang the herbs inside. They will dry up eventually, only it will take longer. On the upside, they will make the room smell nice.

Once the hyssop is properly dry, remove and crush the leaves and discard the stems. The crushed leaves can be used as a seasoning in various dishes or, as is more common in Israel, mixed with olive oil, salt and sesame seeds to make za’atar, a popular local dip eaten with pita bread and/or cream cheese.

Sourdough Simplicity: book review

low-res-sourdough

For a while now I’ve been meaning to review a very useful little book by my friend Rose Godfrey, Sourdough Simplicity. It’s really a very handy, practical instruction manual for those just striking out in the world of sourdough starter. Personally I’ve been wanting to try sourdough for a while, and was only stopped by my husband’s “eek!” factor. Now I’m more inspired than ever to give it a shot.

I’ll be honest: despite Rose’s just warnings about whole-grain sourdough bread coming out dense, if I do make the effort at sourdough, it will only be with whole grain flour (either wheat, rye or spelt). I just don’t see much point in making a starter, keeping it going, investing in a long rise process, making the gamble of an unpredictable product, and all this to get what essentially is still white bread from refined, nutrient-stripped flour (though undoubtedly superior in taste to the usual quick-rise bread).

Yes, traditionally fermented bread is in many cases better tolerated by those with grain allergies, as opposed to quick-rise bread made with baker’s yeast. But still, from a nutritional standpoint, it isn’t much. It might not give you an allergic reaction, but it won’t give you much of anything else, either.

Either way, Sourdough Simplicity is a great way to get going in that confusing new world of sourdough starter. It also provides many great recipes, creative ways of utilizing leftovers, and troubleshooting tips.

“I needed a method that was pure simplicity and a recipe that tasted great. In the end, I found that sourdough baking did not have to be complicated, and it could fit all my objectives. I started with a wonky oven that had 4 distinct heat zones and still managed to bake delicious breads. My loaves are not always Pinterest-perfect, but they are tasty, nutritious, and easy to make. There is always some minor variation from loaf to loaf, and we are OK with that.”

%d bloggers like this: