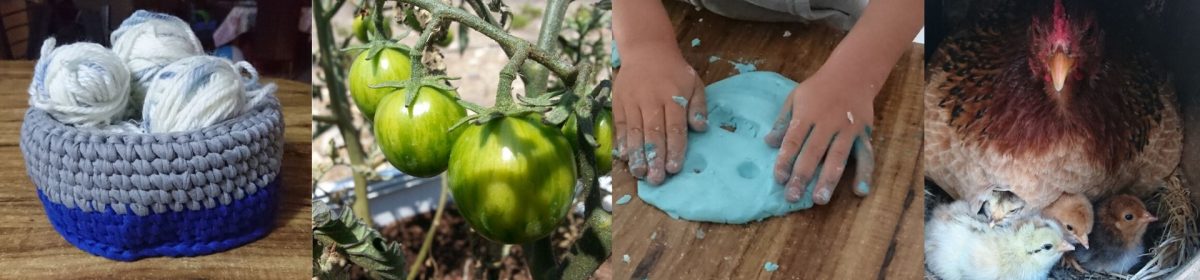
A couple of weeks ago, I found a bag of yarn scraps someone had thrown away. You know I couldn’t just pass! Implementing my own advice on using scraps of yarn, I washed the whole stash and set about making this little doll.
I didn’t follow precise instructions, though there are many patterns you can draw upon. This is an intermediate level project that does require some thorough familiarity with the basics and intuitive knowledge on when to add or reduce stitches.
Most of the work on this project was done with single stitch. I used crochet hook number 3 and acrylic yarn similar to this one.
Step 1: Head and body
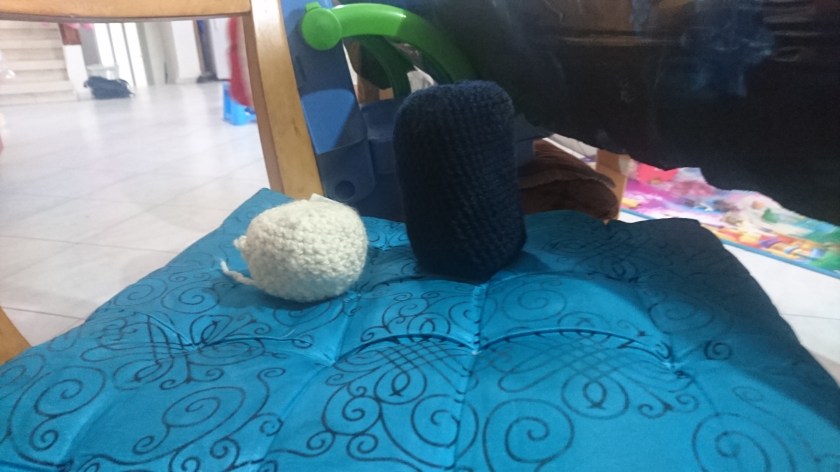
Head: start working a round shape as you would when making a hat, but reduce stitches towards the bottom to make a curved ball-like shape. Leave off a narrow brim – later you’ll slip stitch around it to attach it to the body.
Body: start from the bottom – make a ring and work your way up, gradually reducing stitches. Reduce rather more dramatically towards the top, creating a curvature and leaving off a narrow opening.
Cross stitch, embroider or otherwise make eyes and mouth on head and slip stitch it to the body.
Fill with stuffing and close body off at the bottom.
Step 2: Arms and legs – make rather narrow ring and crochet round and round, making a sort of hollow tube of desired length. Slip stitch arms to the sides of the body and legs to the bottom. Fill with stuffing and stitch up.
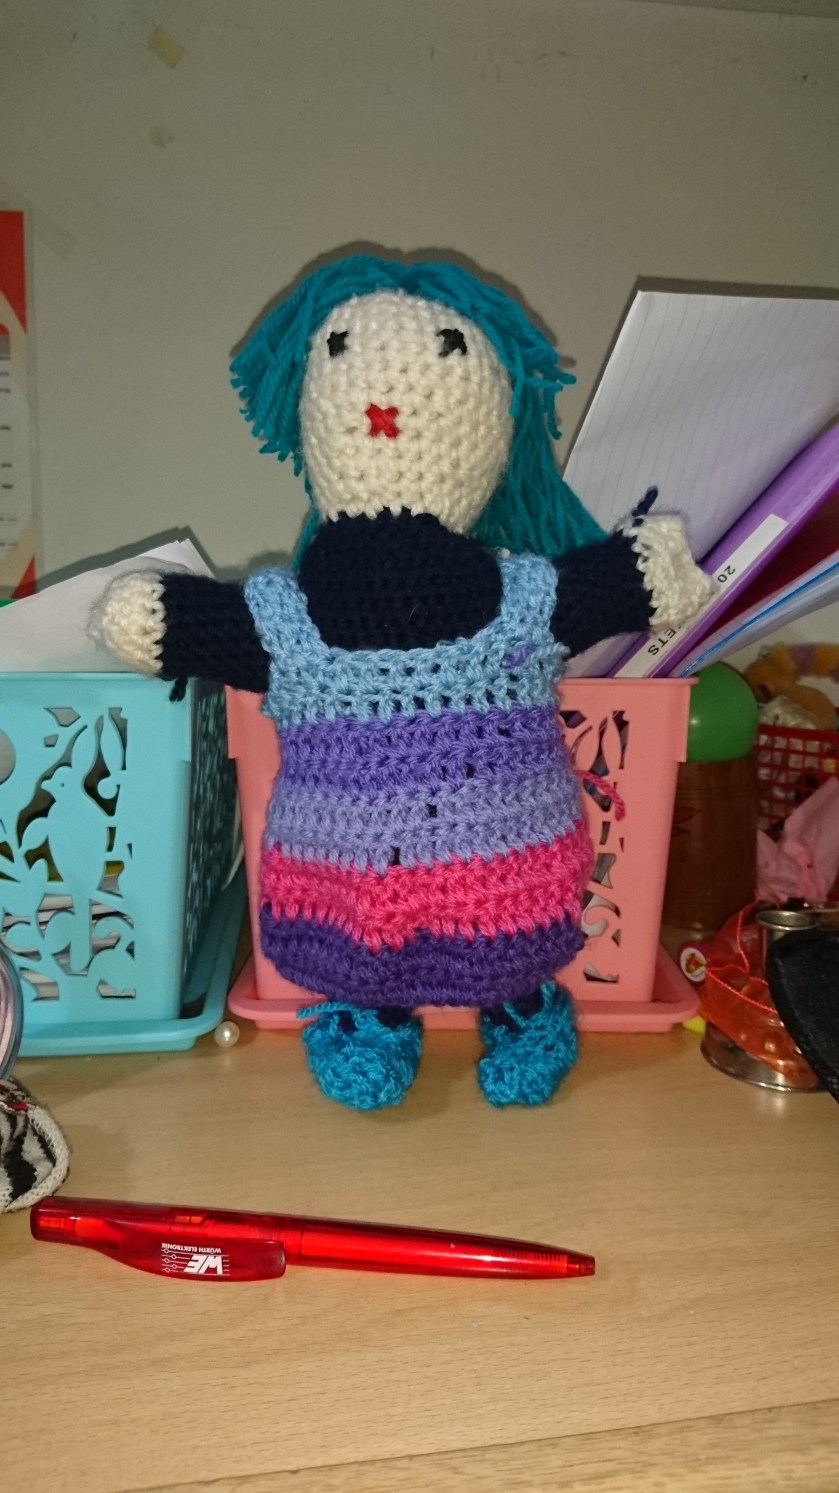
Hair: Make a large, rather floppy pompom, attach to head by slip stitching and trim off as desired.
Clothes: This dollie is dressed in a basic little frock I whipped up, and has a miniature version of Bev’s Very Easy Booties on her feet.
End result: soft, lightweight cuddly doll my kids love to snuggle. They were delighted with the process, too! It was very rewarding, as it worked up so quickly and the little ones were so gratified.
