Softie Crochet Doll: how-to

DSC_1124

A couple of weeks ago, I found a bag of yarn scraps someone had thrown away. You know I couldn’t just pass! Implementing my own advice on using scraps of yarn, I washed the whole stash and set about making this little doll.

I didn’t follow precise instructions, though there are many patterns you can draw upon. This is an intermediate level project that does require some thorough familiarity with the basics and intuitive knowledge on when to add or reduce stitches.

Most of the work on this project was done with single stitch. I used crochet hook number 3 and acrylic yarn similar to this one.

Step 1: Head and body
DSC_1110

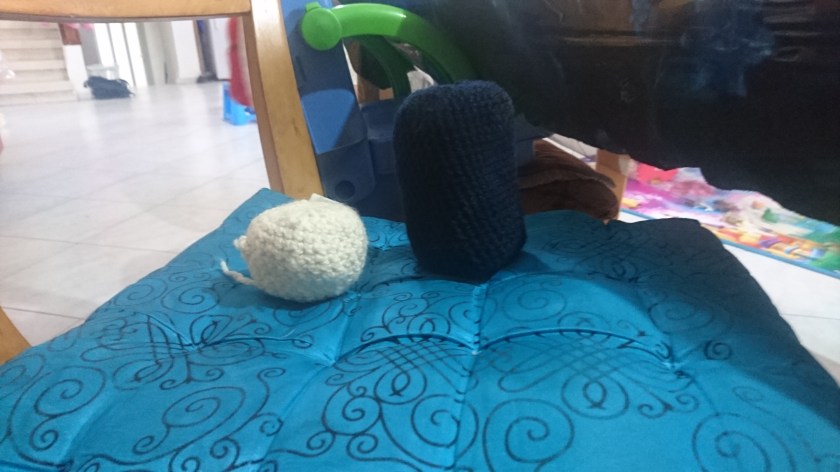
Head: start working a round shape as you would when making a hat, but reduce stitches towards the bottom to make a curved ball-like shape. Leave off a narrow brim – later you’ll slip stitch around it to attach it to the body.

Body: start from the bottom – make a ring and work your way up, gradually reducing stitches. Reduce rather more dramatically towards the top, creating a curvature and leaving off a narrow opening.

Cross stitch, embroider or otherwise make eyes and mouth on head and slip stitch it to the body.

Fill with stuffing and close body off at the bottom.

Step 2: Arms and legs – make rather narrow ring and crochet round and round, making a sort of hollow tube of desired length. Slip stitch arms to the sides of the body and legs to the bottom. Fill with stuffing and stitch up.

Hair: Make a large, rather floppy pompom, attach to head by slip stitching and trim off as desired.

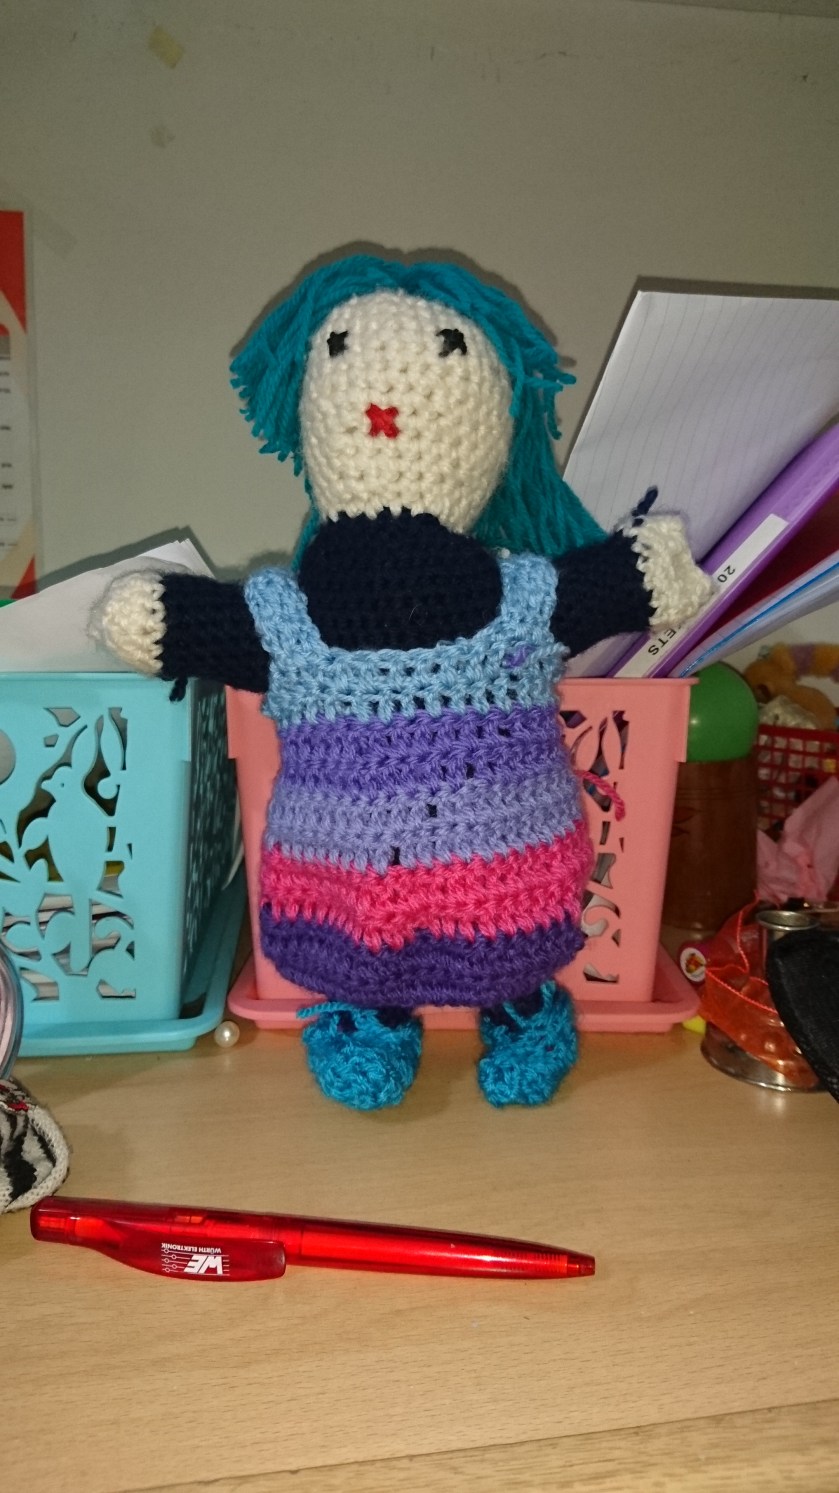
Clothes: This dollie is dressed in a basic little frock I whipped up, and has a miniature version of Bev’s Very Easy Booties on her feet.

End result: soft, lightweight cuddly doll my kids love to snuggle. They were delighted with the process, too! It was very rewarding, as it worked up so quickly and the little ones were so gratified.
Basic Crochet Tutorial: Granny Square

The granny square is a classic crochet element that figures in all sorts of projects, from blankets and ponchos to bags and scarves. You can use up scraps of yarn by making many granny squares and stitching them together, or you can make one giant square into a blanket or rug.

There are many variations to the granny square, and in the following demonstration I’m showing the classic one. Whatever spin you put on it, the square shape is achieved by adding from the corners.

DSC_1103

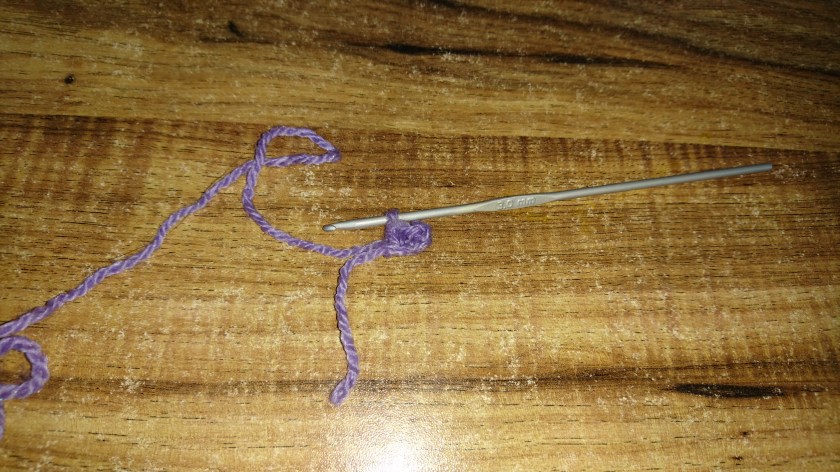
Step 1: make a short chain and connect the last stitch to the first, creating a circle.

DSC_1104

Step 2: chain 2, double stitch 2 (will look like 3 double stitches), ch3, dc3, until you have 4 clusters of 3 stitches and 4 “empty” sections. These are your corners.

DSC_1105

Step 3: In each 3 chain space, create a corner by making 3 dc, 2 chain, 3 dc again.

DSC_1106

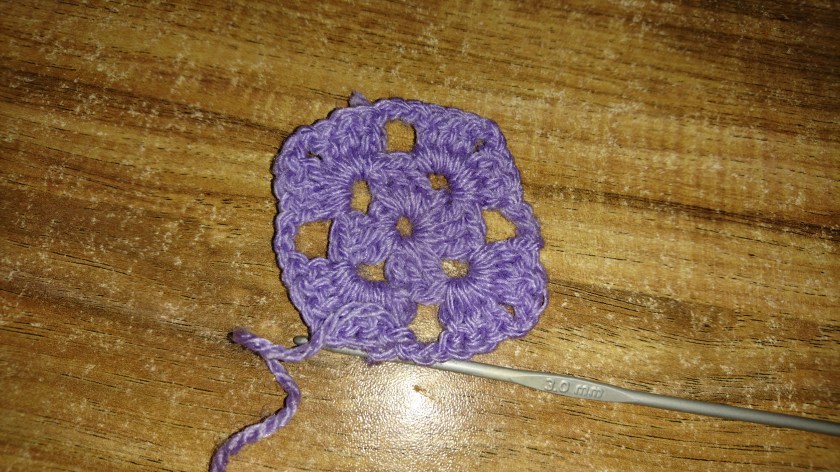
Step 4: I’m creating a classic checkered pattern by looping my stitches through the chain 3 of the previous round, but it really doesn’t matter what you do as long as you keep adding to the corners: dc 3, ch 2, dc 3.

I made this demonstration with crochet hook number 3 and acrylic yarn. In case you are wondering why I switched yarn colors in the end, I started with some leftover yarn length and ran out of it before I could finish the last row. Yes, I’m quickly using up those yarn scraps and am allowing myself to browse clearance sales to re-stock my stash.

Crochet Tutorial: The Basics

Basic (1)

Following my crochet posts, I got a request to make a tutorial showing the basics. This is the beauty of crochet, actually – once you have mastered the 3-4 basic stitches, you can make almost anything by combining them.

So, without further ado, here is my demonstration of the most fundamental crochet stitches: basics for beginners. 

The chain stitch is the simplest of all – it’s basically just pulling loop through loop using a hook – but it’s important because every crochet project starts with a chain.

Single stitch: after a chain, this is the first stitch you should learn. It creates a tight fabric and is very commonly used in various projects.

Double stitch is perhaps the stitch I use most often. It creates a looser, stretchier weave and makes for faster work than the single stitch.

Triple stitch: I don’t use the triple stitch that often, but it’s a cool stitch that creates tall, nifty-looking columns. It’s great for height contrasts, ripple effects, and lace.

When you begin practicing the crochet stitches, choose a comfortable-sized hook and yarn that is plain-textured and doesn’t fall apart (in the demonstration above, you can see that the yarn I used has a bit of a tendency to separate into filaments). Something like this yarn would be a good choice.

Between the drops

DSC_1084

We’ve had so much rain here lately that I’m seriously considering to go into hibernation mode until it’s all over. I know, I know. It’s unfair to complain about a bit of rain and mud when the country needs water so badly, and when my friends in the northern states and Canada are snowed in, but I do love sunshine with a passion and absolutely need lots of it to feel happy.

In the meantime, we are going on with our indoor diversions of baking, reading and crafts. In the photo above, you can see the cute little throw-on vest I had just completed (the loose ends still need to be tucked in!). It’s made from alpaca wool blend and was a joy to work on. I imagine it would also work great with pure alpaca yarn, such as this lovely yarn from LoveCrochet.

DSC_1082

On a rare sunshiny afternoon, we went for a walk to take some photos of these beauties – almond trees in bloom, the typical local herald of spring.

DSC_1083

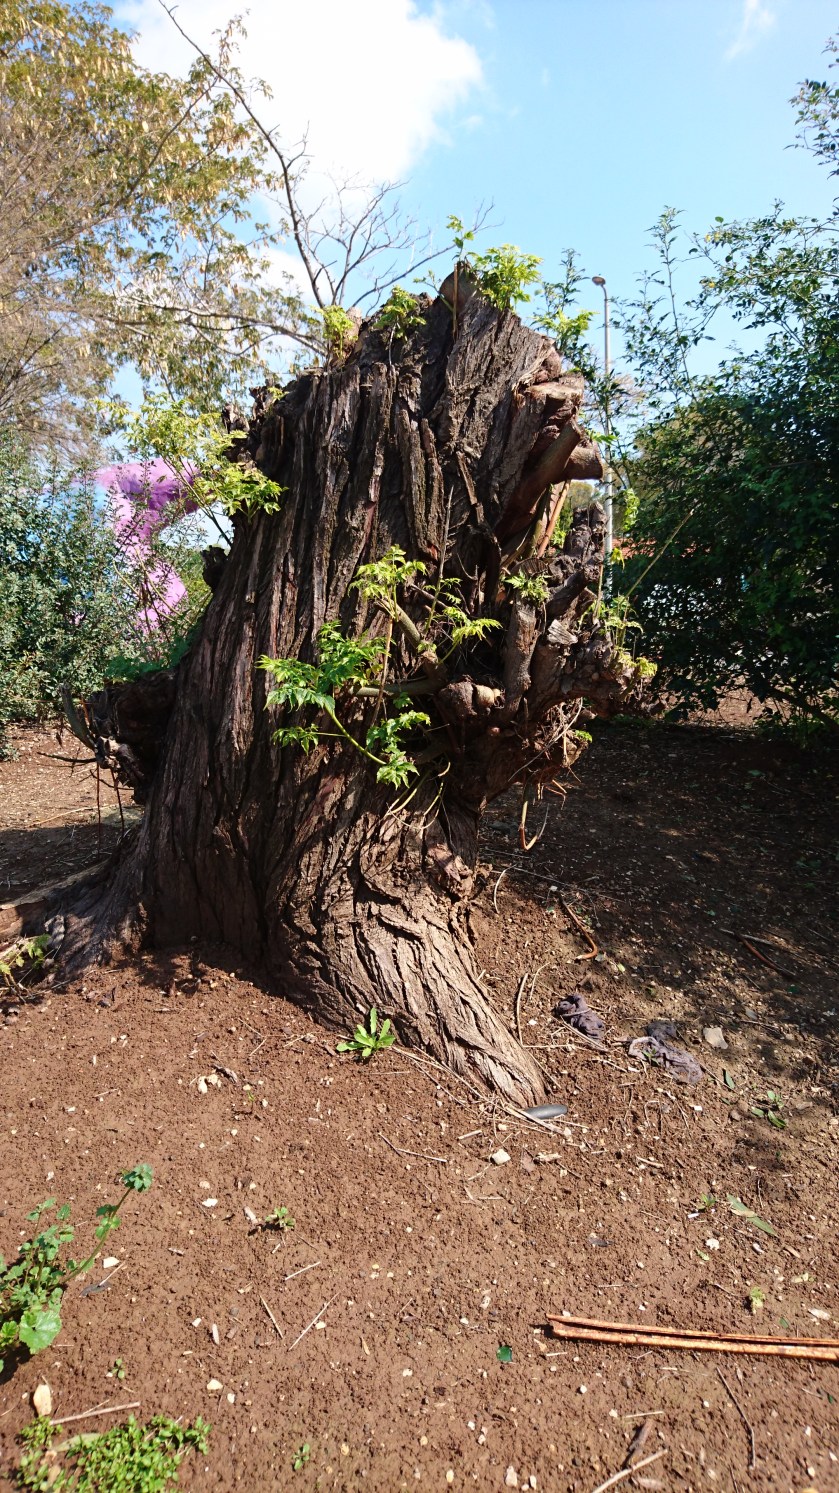
And this last one is my favorite – this old stump looked quite dead until new green shoot began to pop up all over it. Now it’s teeming with life. So hopeful!

I hope you are all staying safe and warm and successfully battling cabin fever. Soon enough, it will be time for working in the garden, gathering wild edibles and, perhaps my most dreaded feature of the season, spring cleaning.

Using Up Yarn Scraps

I went to sleep after a lovely sunny day of working in the garden and pleasant outdoor time with my kids, in full expectation of doing some of the same tomorrow – but woke up to sounds of rolling thunder. This means a day of staying cozy inside, reading, many cups of tea and cocoa and, of course, crafts.

Speaking of which, pop over to read my latest Mother Earth News post, full of ideas on using up those little odds and ends of yarn that you surely have in your stash:

“If you are an avid knitter or crocheter like I am, you will inevitably at some point end up with a stash of scrap yarn, left over from various projects, which you cannot bear to throw away. Fear not, however – those little odds and ends can be used in a variety of creative ways which will leave your craft cabinet looking a lot more orderly.”

And, since freeing up space in your yarn stash is the perfect excuse to get new yarn, you might want to check the clearance page on LoveCrochet. All these lovelies just get me drooling.

I’m hooked!

DSC_1074

When the weather is cold, cozy cuddly yarn projects are a wonderful way to keep busy while options for outdoor exercise are limited. I’m now working on a vest made from alpaca wool blend such as this beautiful yarn – I love the warm natural feel of it. I will be sure to share the final product with you when I’m done, and then I have some lovely thin mohair in my yarn stash I can’t wait to work with.

Since I’m really pleased with how I keep my hands busy at times when I would otherwise be fiddling with my phone (and I really mean fiddling – with no good purpose), and since I don’t want to go on a long crocheting break when the weather gets warmer, I’ve also ordered some lighter cotton yarn suitable for warm weather, and have some very cool ideas I’d love to try.

You know what I’d really love to do, though? Learn to spin wool. I do hope I get a chance to do that someday.

Busy as bees

DSC_1073

Lately, I challenged myself: instead of fiddling with my phone whenever I have a spare moment, what if I whip out the crochet hook and work on some little project? The result: surprisingly quickly, I completed this adorable (if I do say so myself) tiny dress for Hadassah. It’s made of yak wool blend similar to this one and is very soft to the touch, cozy and warm.

I didn’t follow an exact pattern, but I can say that I started working from the waist up on the front half, then went back to work from the waist down on the skirt, and in the end stitched front and back halves together on the sides.

Also take a look at this latest little video on my YouTube channel: honeybees busy at work on the mustard flowers in our garden. With a nice sunny spell, we’ve finally been able to do some weeding (not enough) and planting (somewhat haphazardly).