Oatmeal or tahini cookies are great when you are feeling health-conscious and want to make sure your teatime treat contains plenty of fiber and minerals.
But sometimes you just want a tender, melt in the mouth crumbly cookie for the perfect comfort.
These cookies are just the thing: utilizing plenty of high-quality coconut oil and following the classic shortbread 3-2-1 formula, they’ll surprise you with their luxurious texture.
No eggs or leavening needed – great for this period when most hens go off laying.
Take:
3 cups plain white flour
2 cups cold pressed coconut oil
1 cup sugar – better use confectioner’s sugar for extra silky texture.
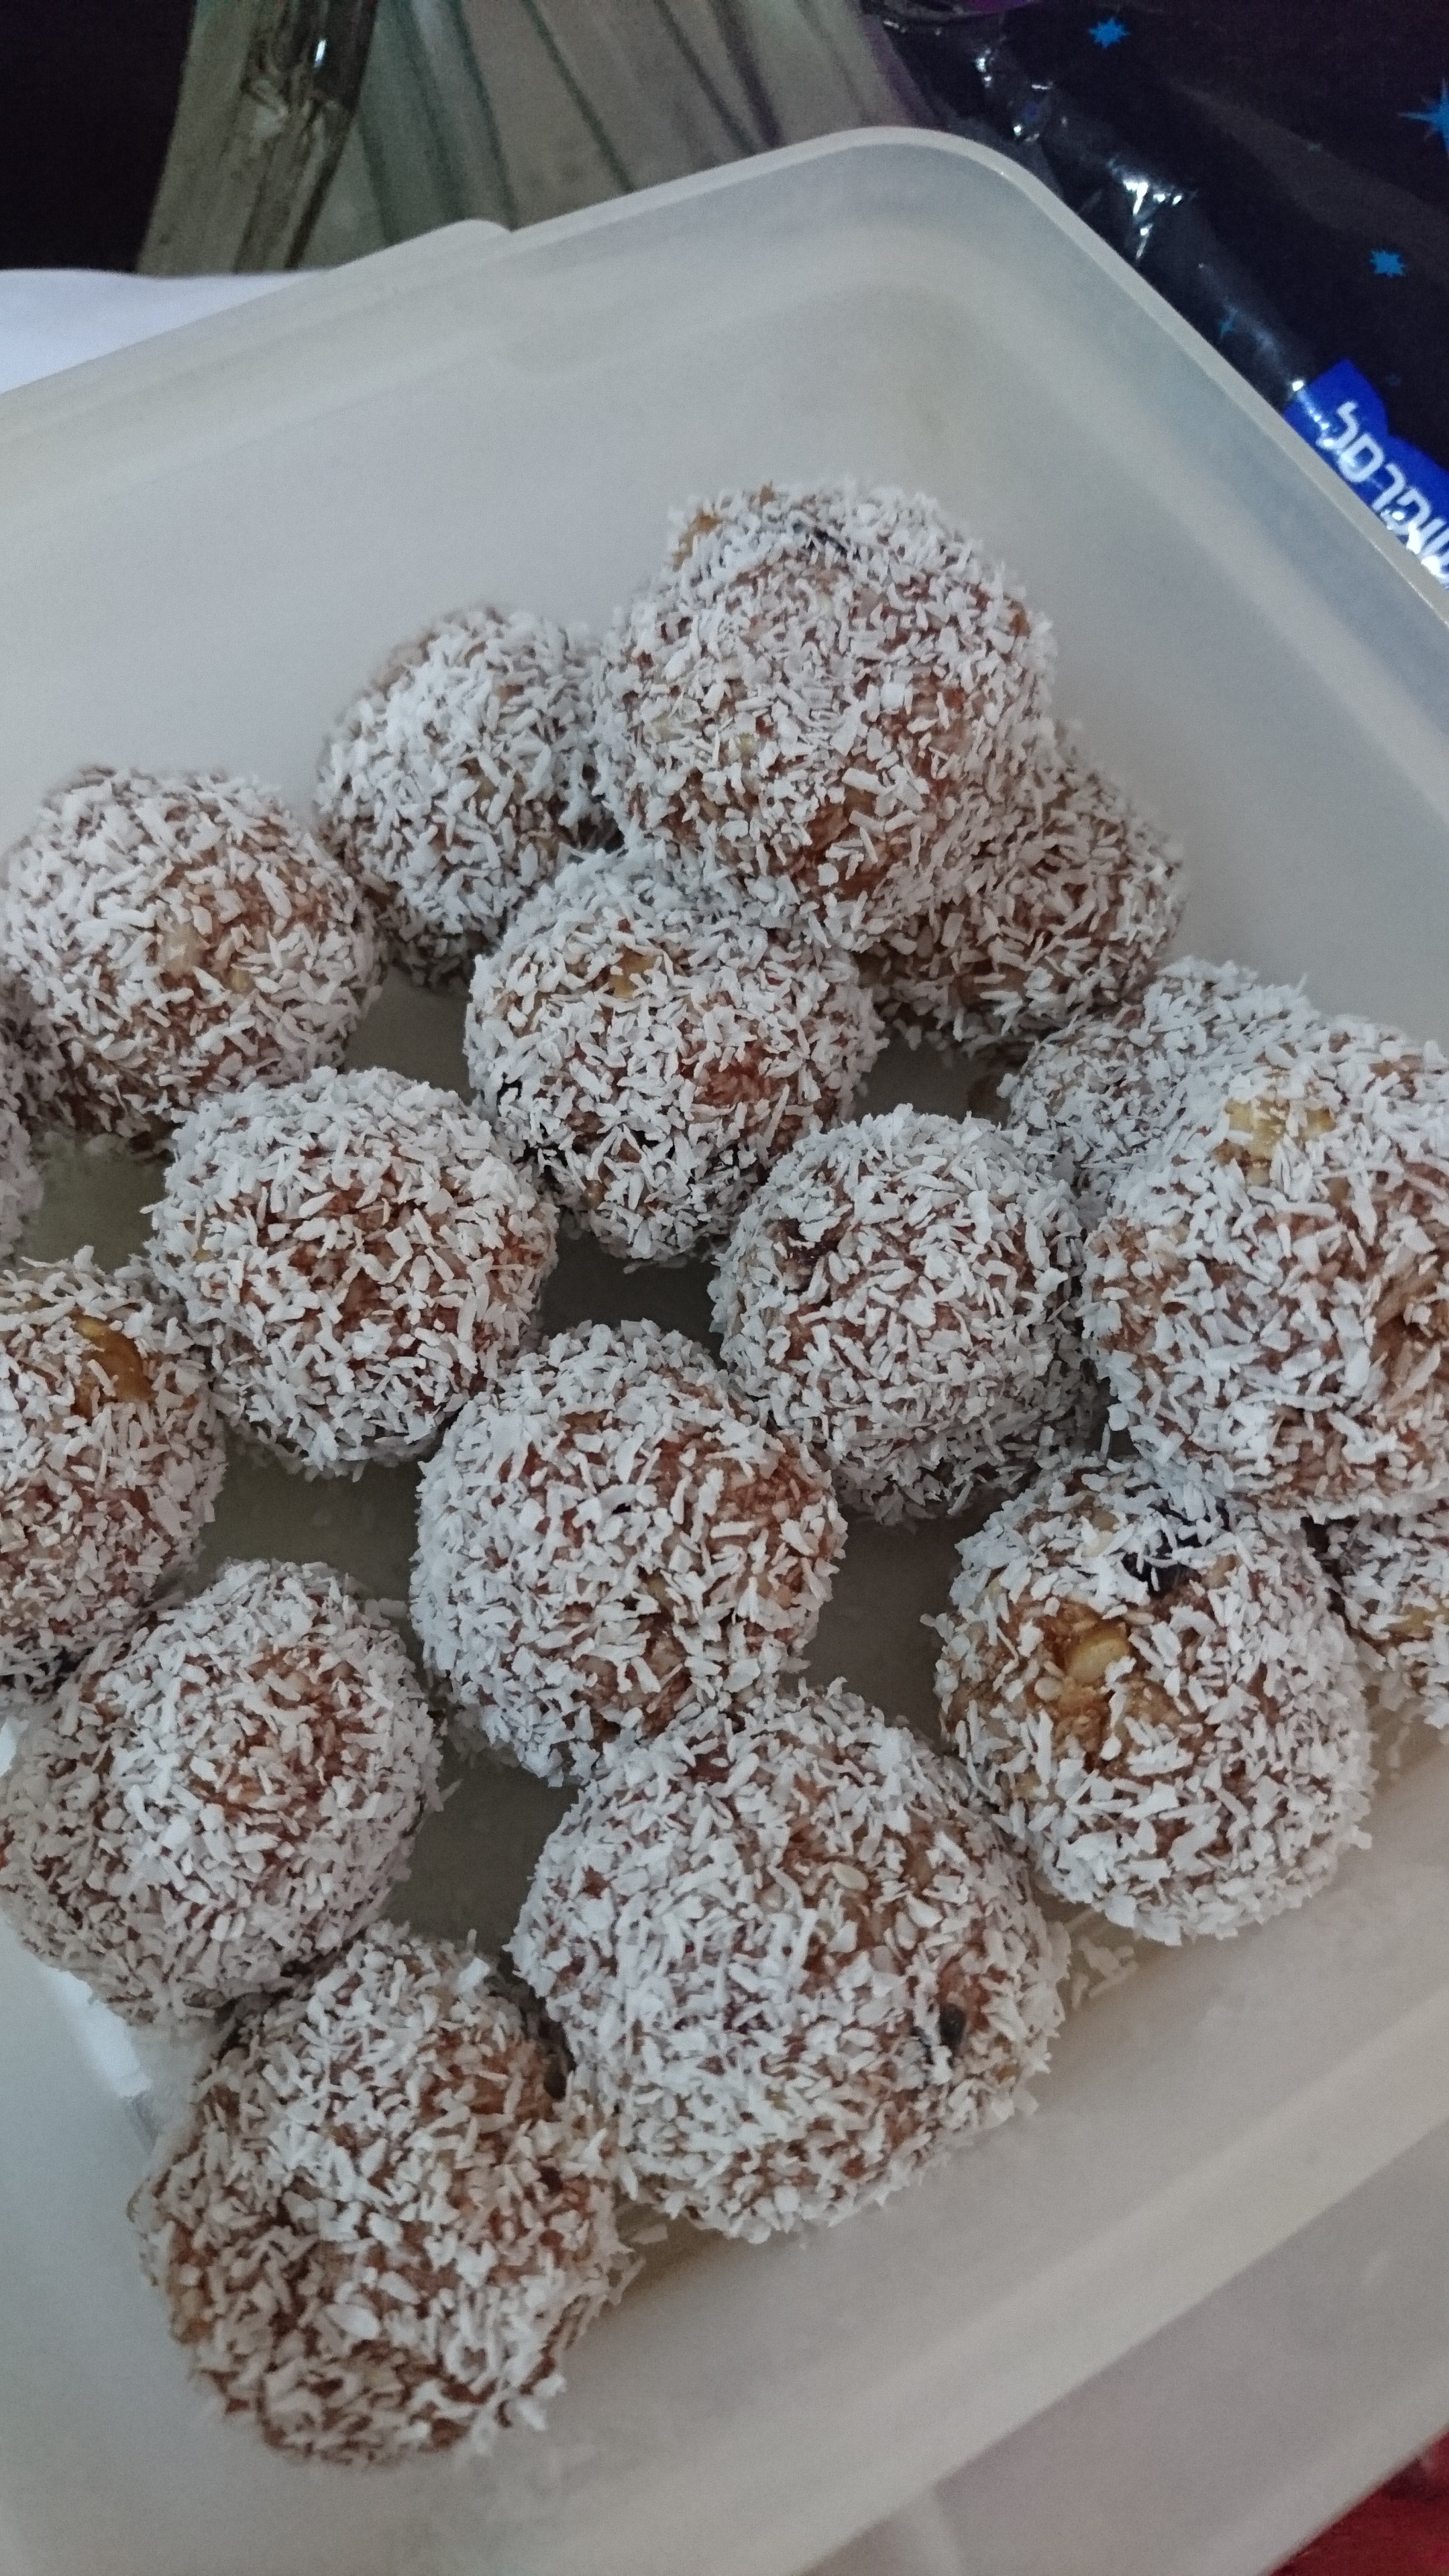
Optional: flavor with grated aniseed (as in the picture), lemon or orange peel, or ginger.
Mix all dry ingredients. Melt coconut oil and add to the mixture.
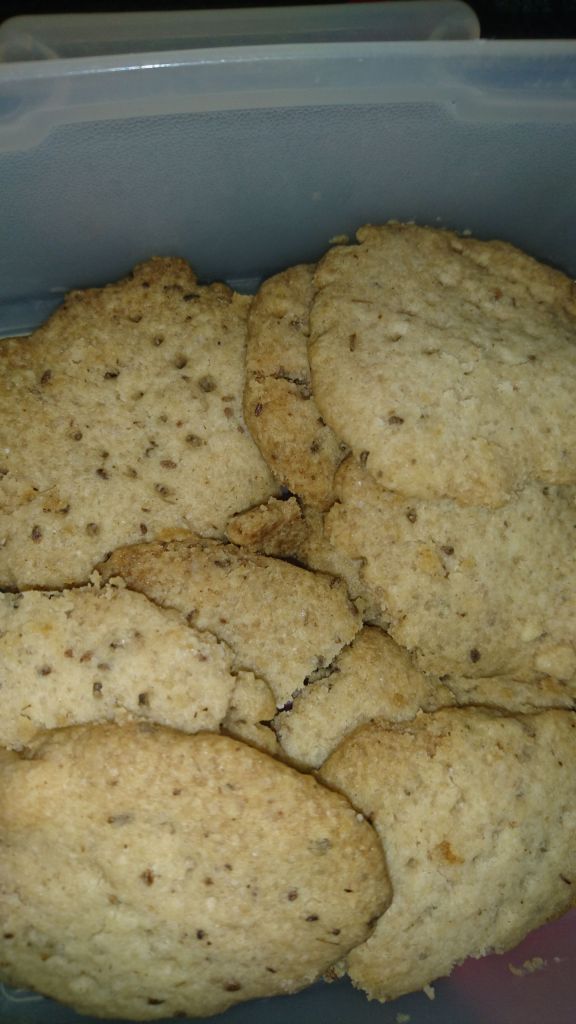
Gently work the dough into a crumbly texture and form round shapes or fingers on a baking tray.
Pop into the oven and bake for 15-20 minutes, or until the edges just turn golden. Don’t overbake.
Enjoy with a cup of tea on a rainy afternoon.